Hairdresser
A hairstylist is someone who expresses his creativity on people bodies. In this case, their hair. As a hairstylist, you help clients with their hair. You help them obtain the best haircut that suits the shape of their faces.
According to Indeed.com, hairstylists would braid and weave hair.
Furthermore, they bleach, dye, or tint hair, using applicator or brush. Not only that but they should have sales skills to sell hair care products and cosmetics.
Not to mention, developing new customers and build relationship with current clients.
Illustrator
If you are looking for creative jobs in the art industry, this one is for you.
First, Illustrators are communicators. They communicate messages and ideas through art.
Your role is to use your creative skills to create visual stories. The purpose might be education, persuasion, or entertainment. Therefore, you must be able to adjust the mood and style of your design.
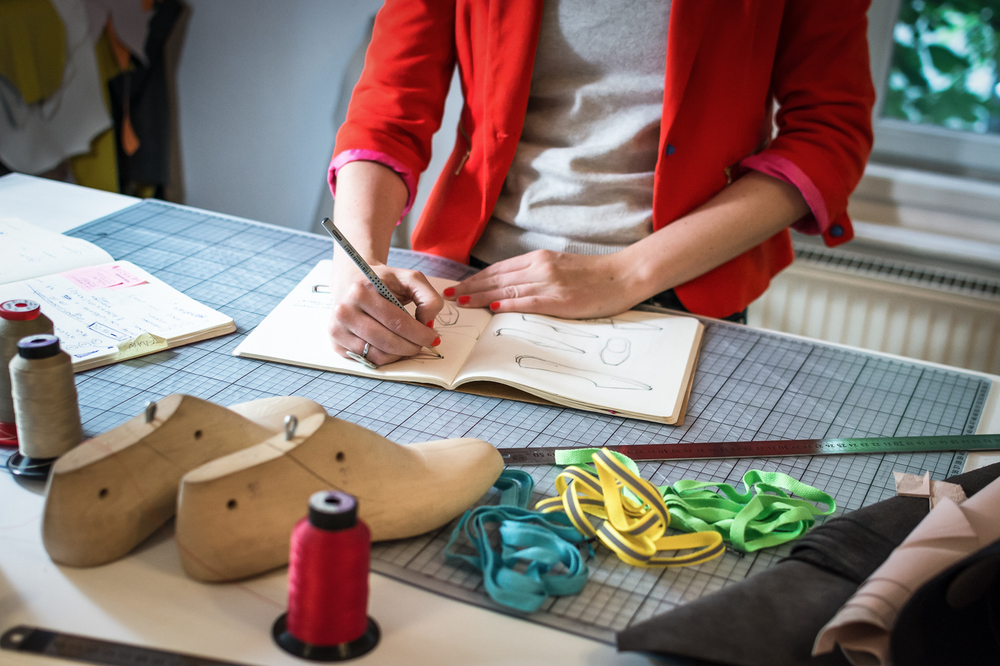
Typically, you will combine design, drawing, photography, and digital illustration. You have various industries to choose from including advertising, publishing, fashion, and more.
Make-up artist
Make-up artists express their creativity on people’s faces. They have the talents to transform faces into the poetry-inspiring material. Makeup hide imperfections and highlight positive features.
Expect to work for special events, fashion shoots, and even use prosthetics for theatrical productions. It is a form of art like no other.
Like their cousins, hairdressers, makeup artists make a decent living and have a loyal customer base.
Photographer
Photography is a visual art form that demands heaps of practice and patience.
There are various disciplines within photography such as landscape photography, aerial photography, fashion photography, and more.
Photographers who have a passion for taking pictures can put their creativity to work and produce art. Some photographers start their private agency and build it from the ground.
Becoming a photographer is probably one of the most creative careers a person can pursue.
Sculptor
Sculpting is an ancient art form that survived the passage of thousands of years. A sculptor is a master of stone, marble, glass, metal, wood, and ice. He uses the material to make sculptures and statues for parks, office buildings, and lobbies.
He is a creative fine artist who generates ideas and transforms them into three-dimensional forms full of life. Who hires sculptors? Chiefly, museums that want maintenance work or creation of new pieces. Private collectors also use the sculptor’s talent for creating one-of-a-kind piece.
Tattooist
Tattoo artists are somewhat like therapists. When you are a tattoo artist, you will get to hear the most painful moments in people’s lives.
A Tattoo artist must undergo an apprenticeship. They have to learn and perfect their practice before starting their shop.
A fine arts degree can help. At the same time, it is not necessary to become a tattoo artist.
Your medium is a living, breathing human being who changes. The changes you make are permanent.
Conclusion
Remember: The key to a creative career is the inspiration. Therefore, the source of your creativity is always the source of your inspiration. Let it flow.